After playing with bananapi, my arcade machine, and my passion for the retro-computers (specially Commodore 64), I decided to give a new life to a broken Commodore 64.
The idea of this “C64pi” project was simple: Use a Commodore64 as a shell for a raspberry pi (2), and use a simple OS (retropie) which allows it to be used as a console / retro-computer.
First of all, the result 🙂
Then, let’s go to work… so the material needed is:
- A (broken) Commodore64
- A Keyrah v2 interface
- Some cheap mount cables (usb, hdmi, network, etc.)
- A dremel
And, that’s it!!! Simple, isn’t it? I have seen some other projects much more complex (with custom boards and so on), but I wanted to keep it very simple and not loose any of the functionalities from the Raspberry pi (like the 4 USB ports and the network port).
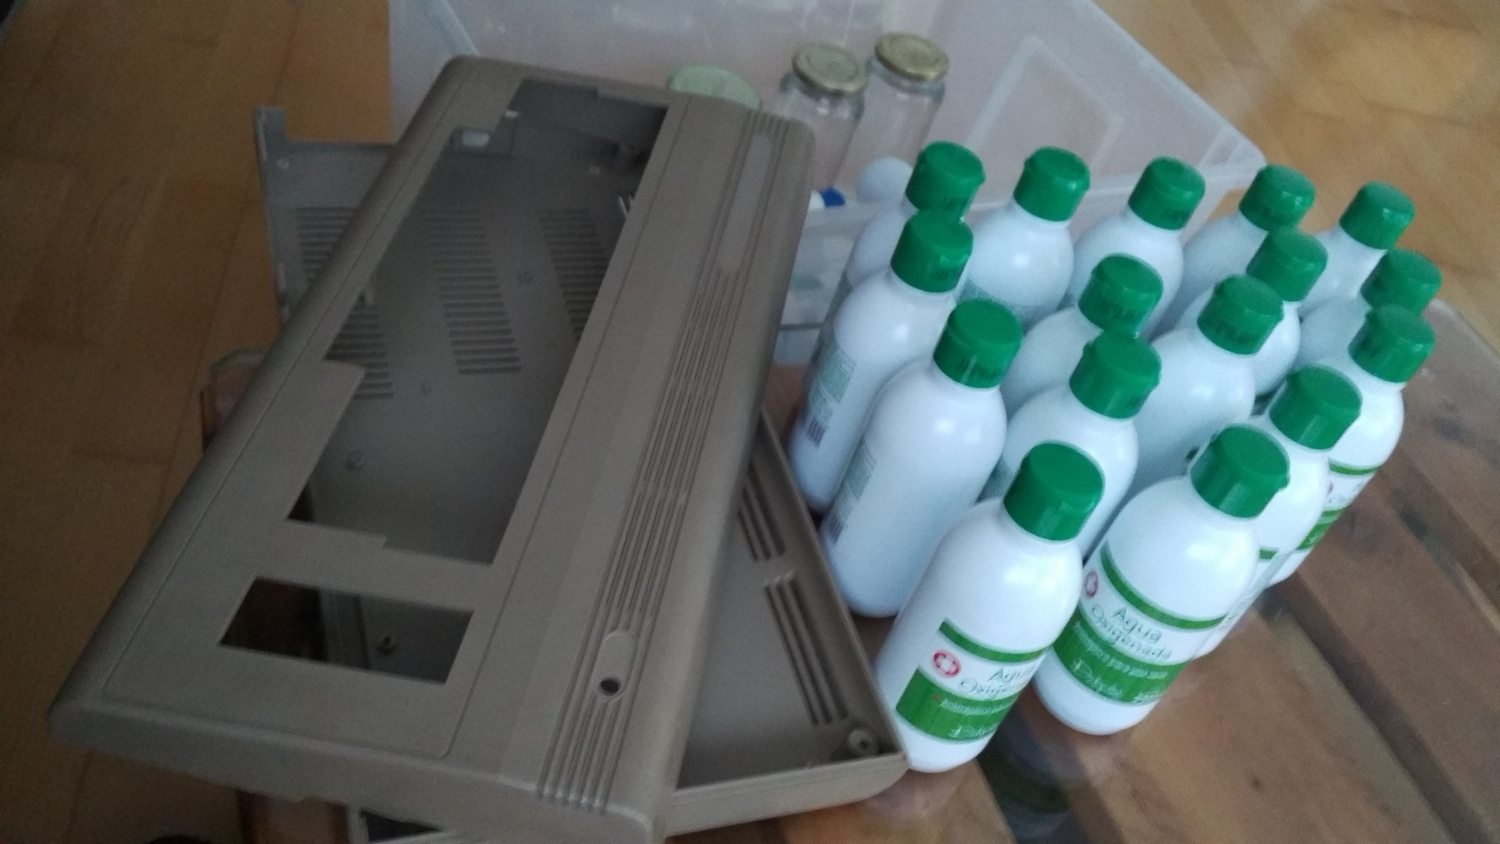
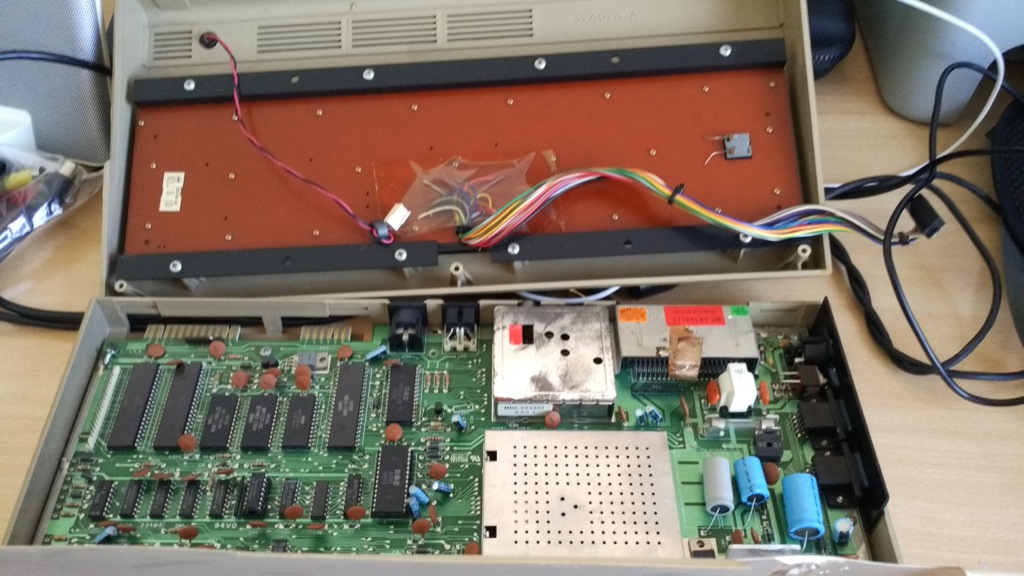
The first phase was to disassemble the C64 and clean the plastic case using Hydrogen peroxide. Be careful when removing the Power LED (I broke one plastic piece 🙁 )!
The process for cleaning the plastic using Hydrogen peroxide is quite simple and it is explained in many sites with much more detail, but the “short history” is the following:
- Buy LOTS of bottles, like 5 litres or even more! (3% concentration is enough, but if you buy with more %, it will be faster)
- Find a translucent box that can be closed (IKEA is your friend!)
- Fill the box with the Hydrogen peroxide, put inside the C64 case (remove first all stickers! only plastic!!), and make sure that the liquid covers all the case and the box is totally closed
- Leave it to the direct sun-light for about 3 days. Keep checking that nothing explodes… just kidding 😀

Meanwhile the plastic gets cleaned… let’s talk about the Keyrah v2 interface from Individual Computers:
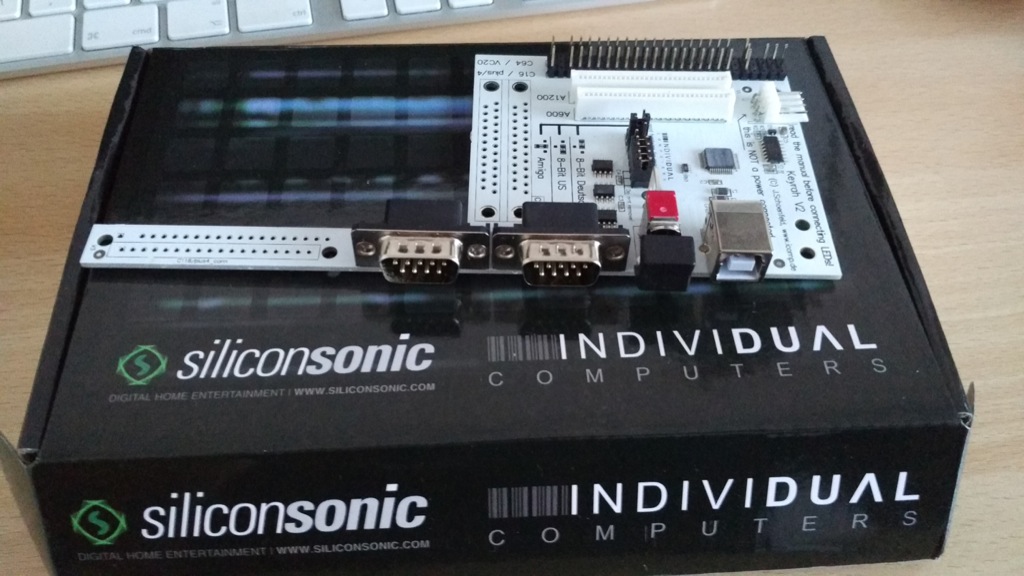
This small piece of art enables you to connect directly the C64 keyboard (and Amiga and more), to any PC using a standard USB interface. The C64 keyboard is not very practical nowadays (it lacks important keys like cursor, page up and down, etc.), but it will work fine for our purposes 🙂
I think that they should have included an internal USB connector, for projects like mine… but, it’s not a drama 🙂
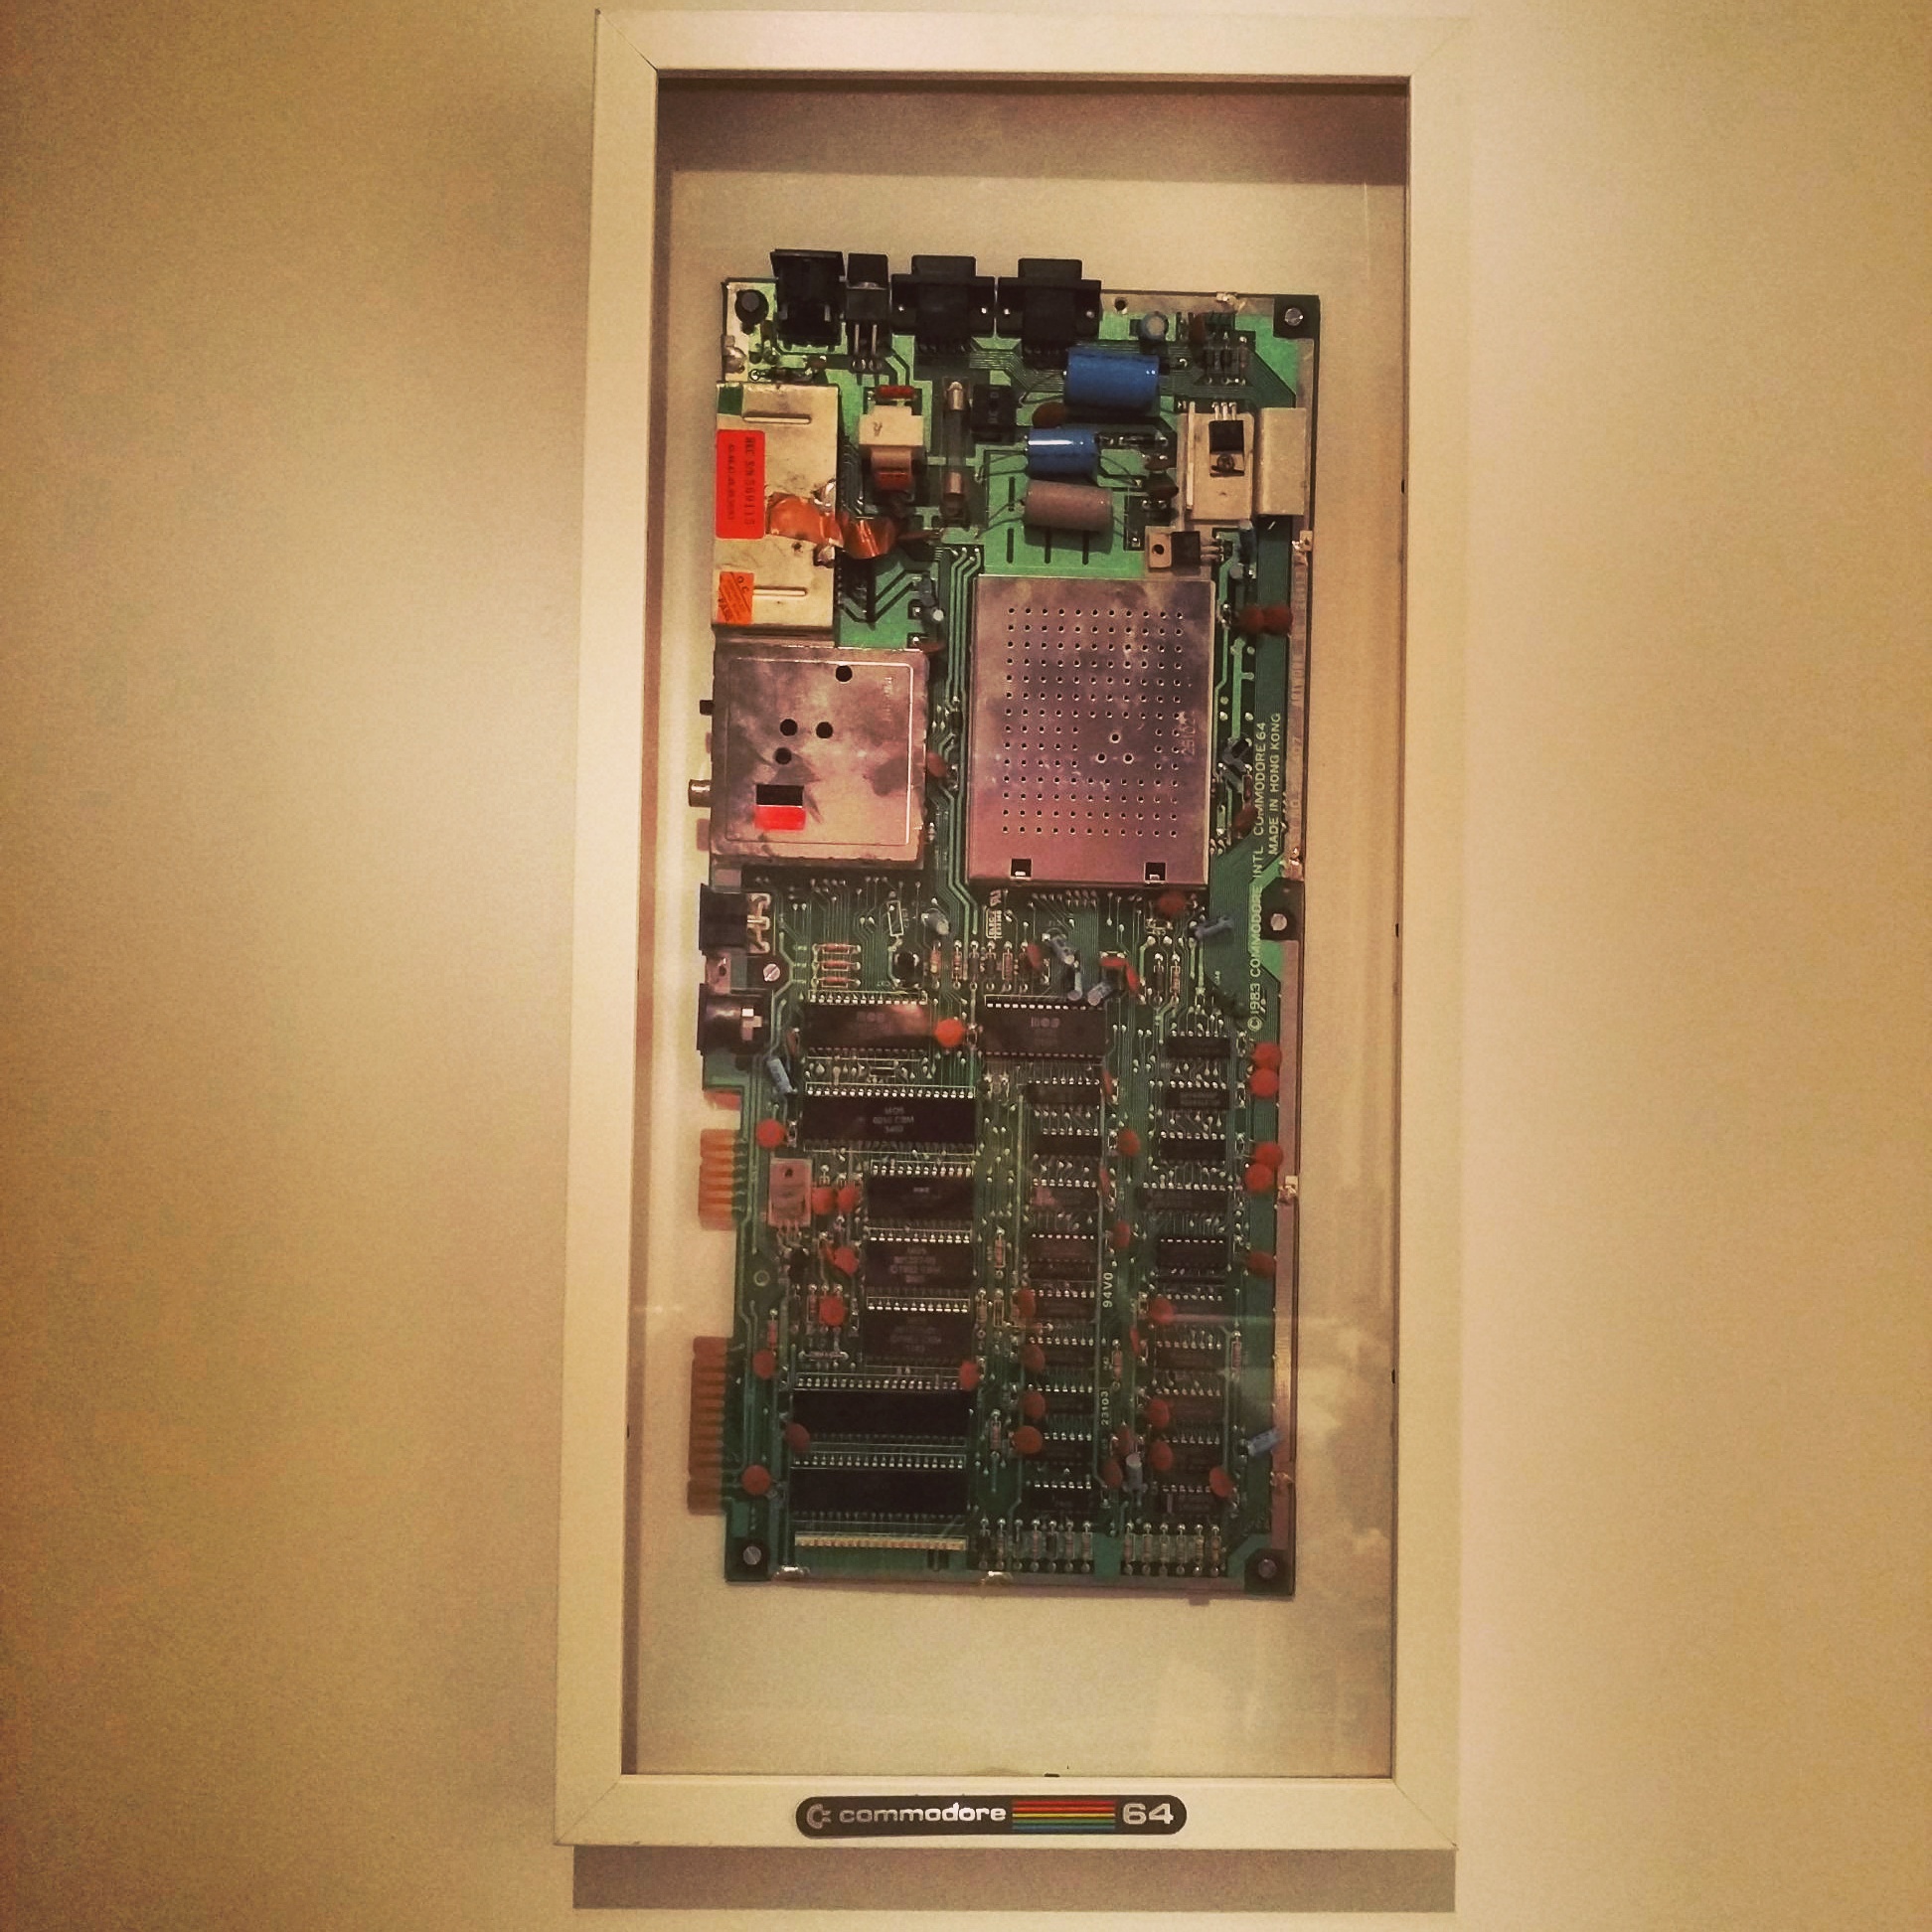
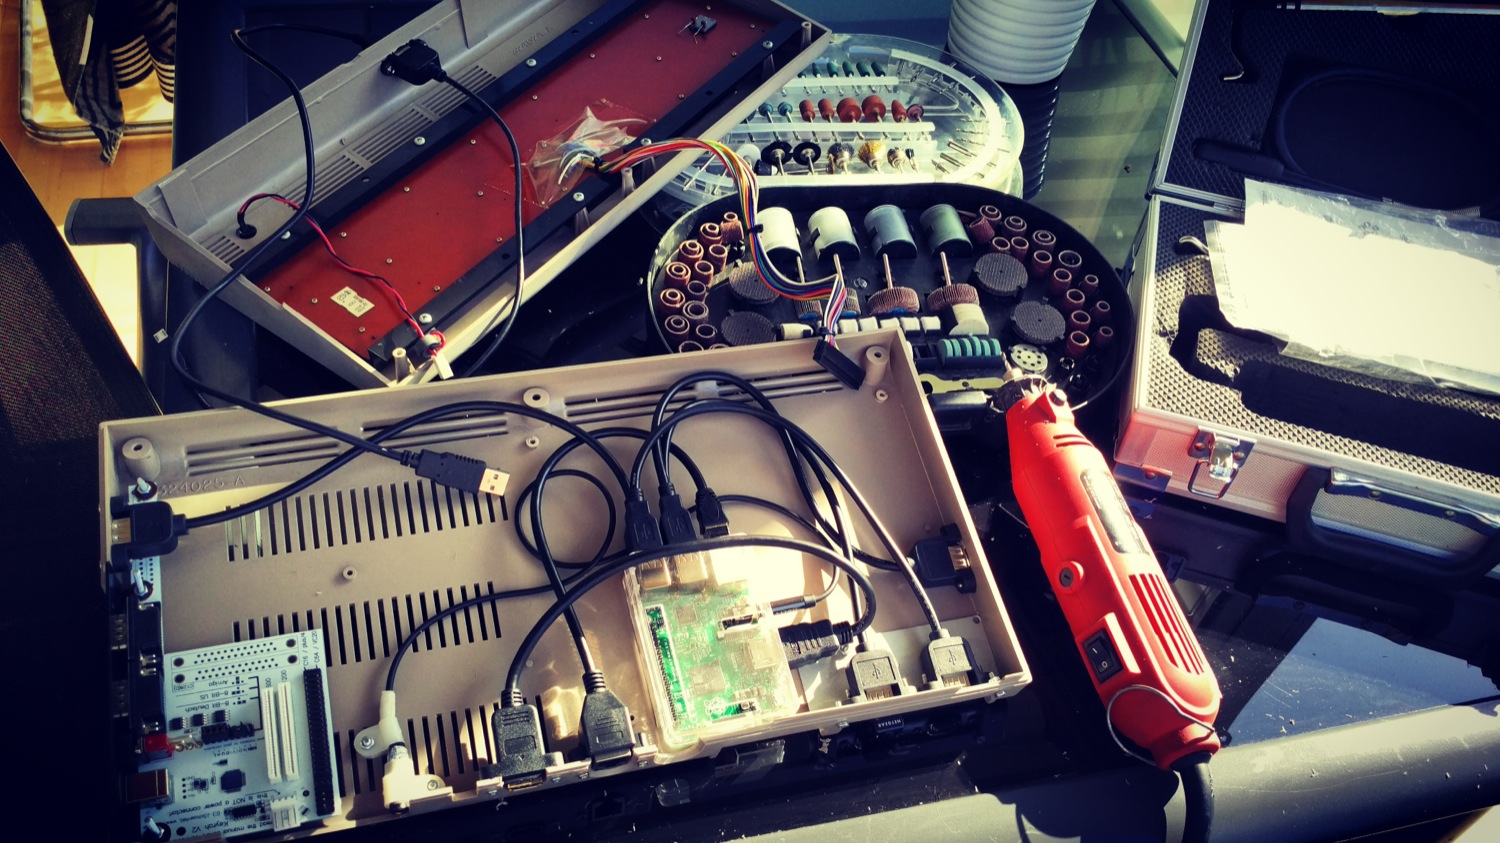
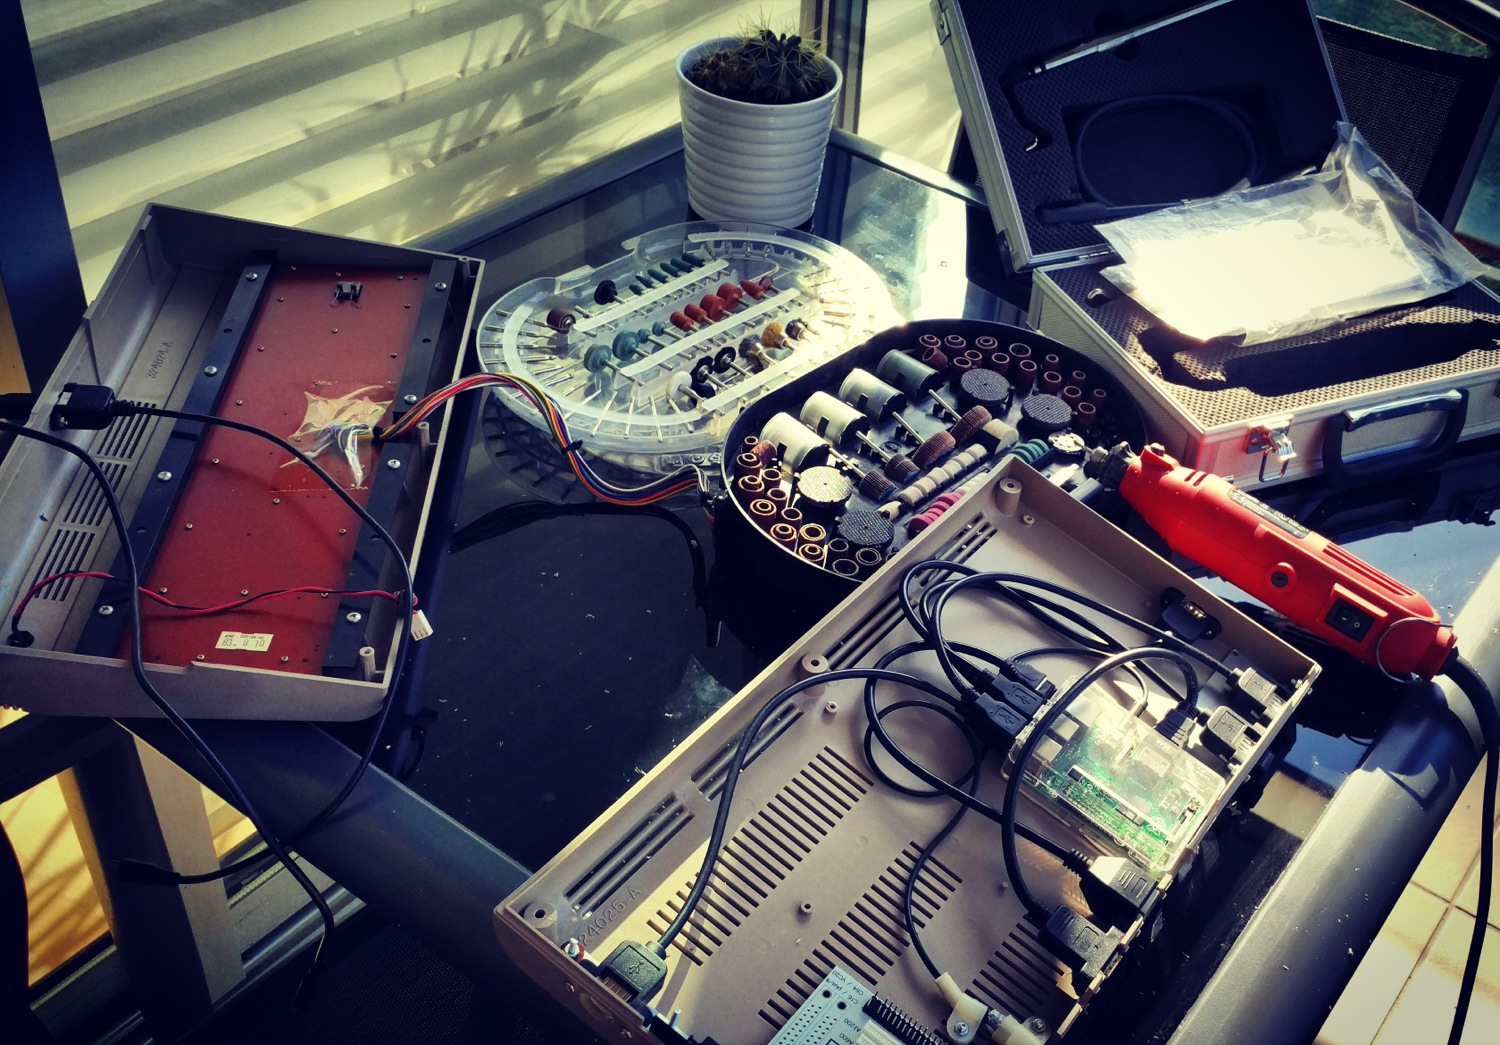
O, so… the case is still not clean?? don’t worry! you can do much more things!!! for example… what were you going to do with the Commodore 64 board??? What about this?
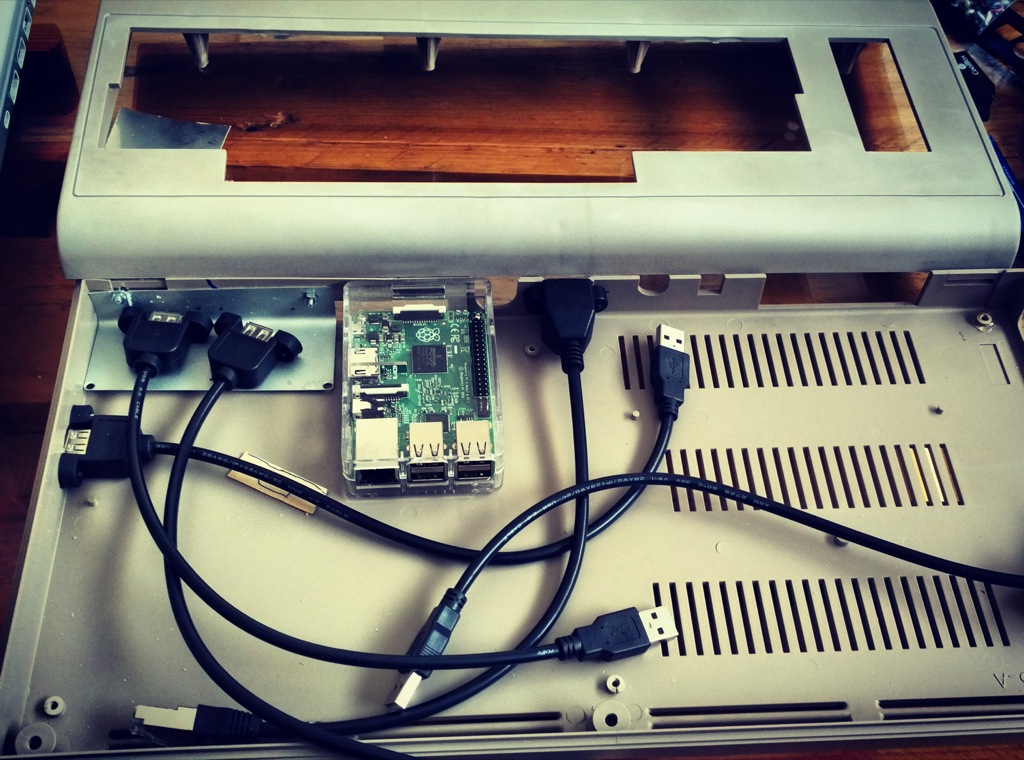
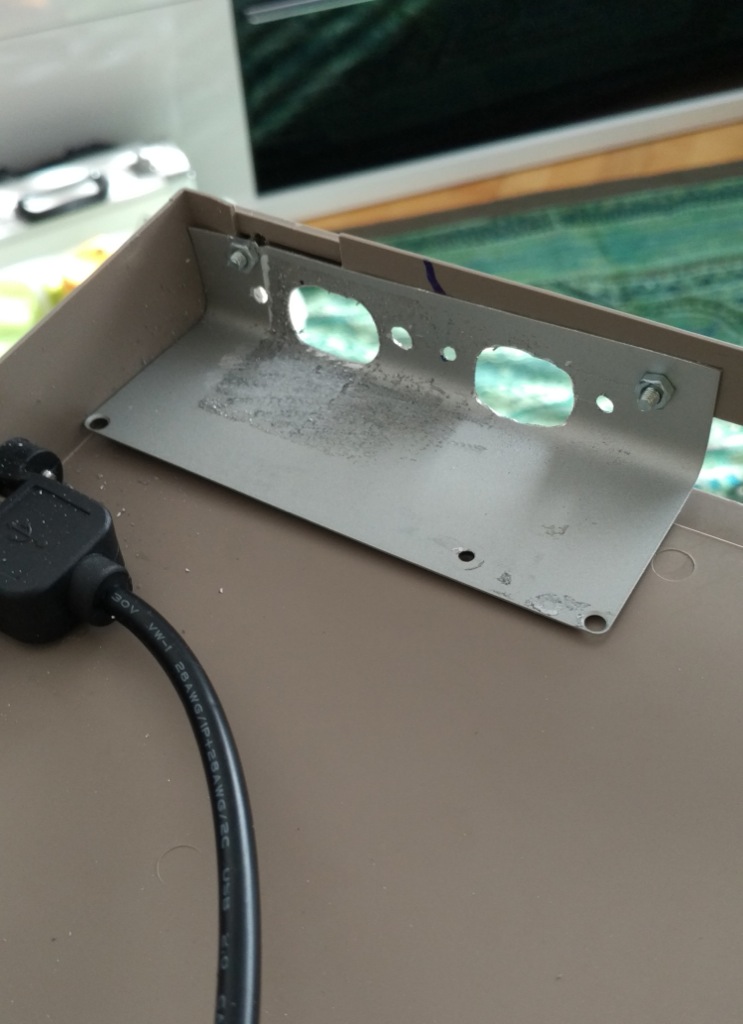
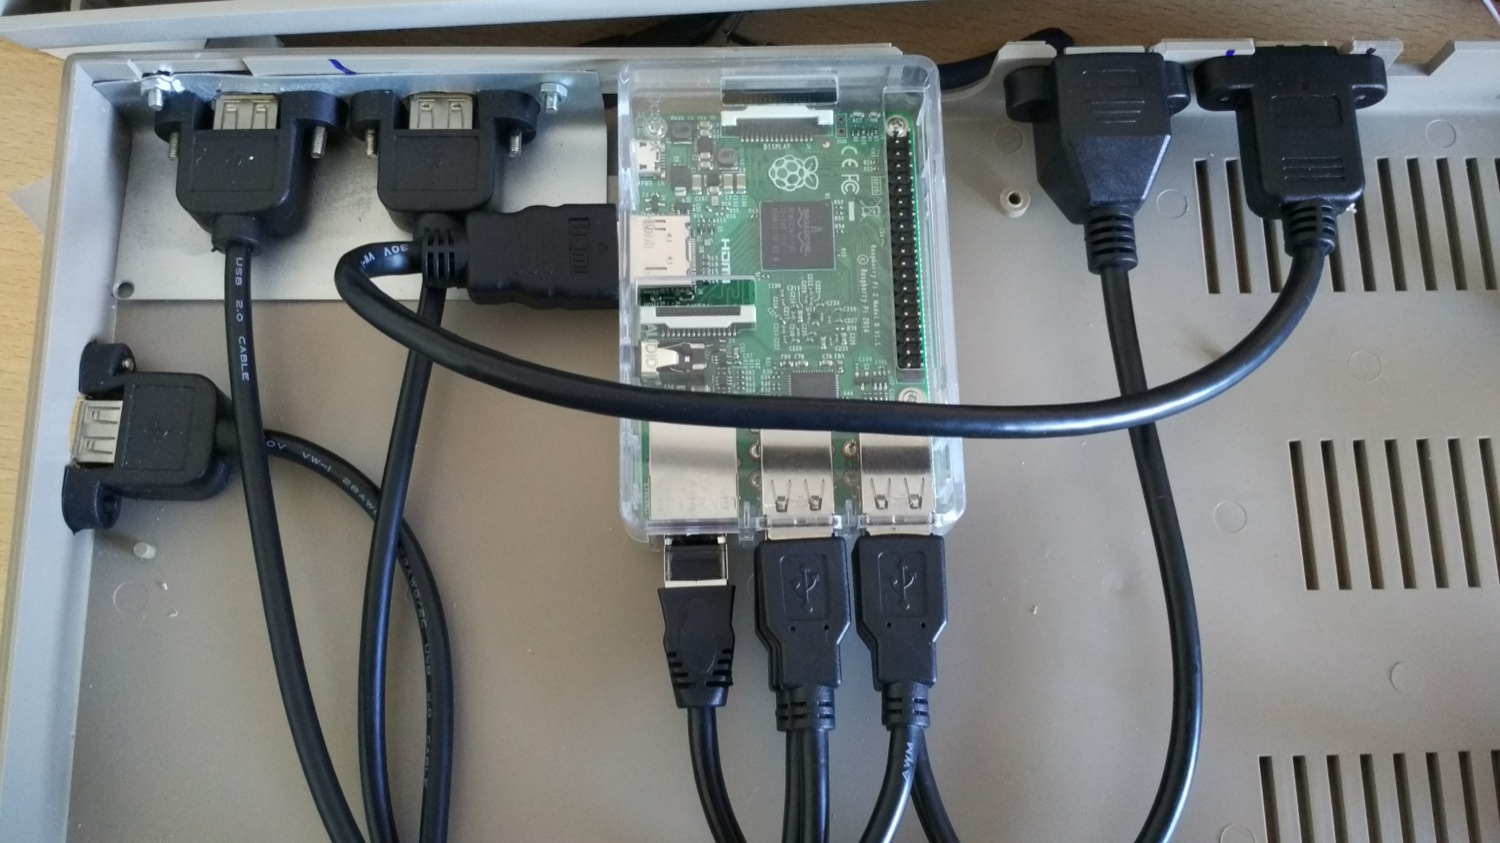
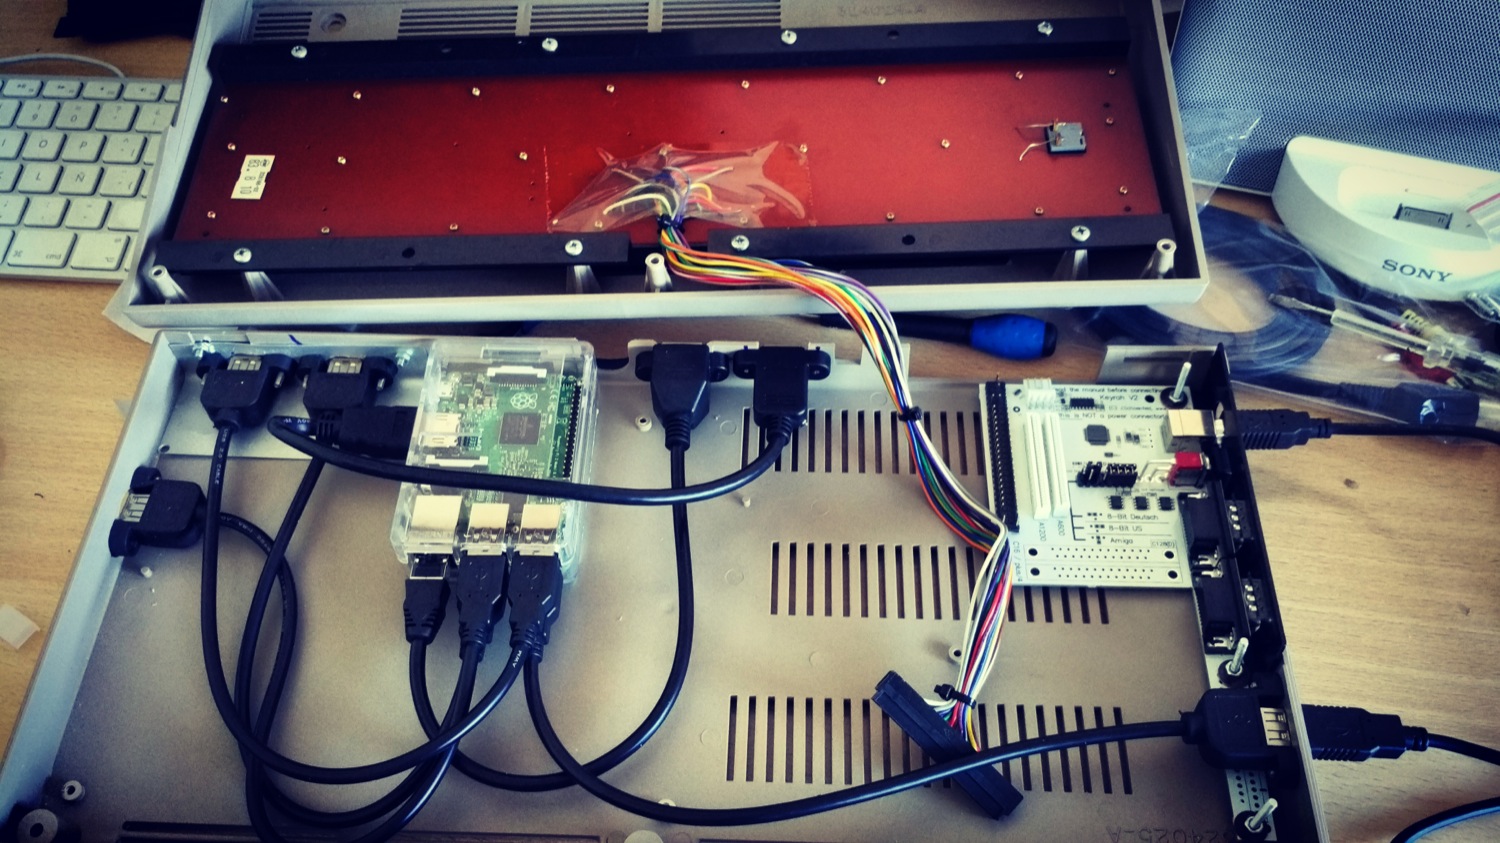
Well… after this break, let’s go back to work… so, after getting all the case clean (the result is good, but not so good compared with blank cases)…. I connected all the cables, and with the help of a dremel I made a few holes to the Commodore (sorry bout that fella!). Here you can see the process:


And… voilá!! 😀
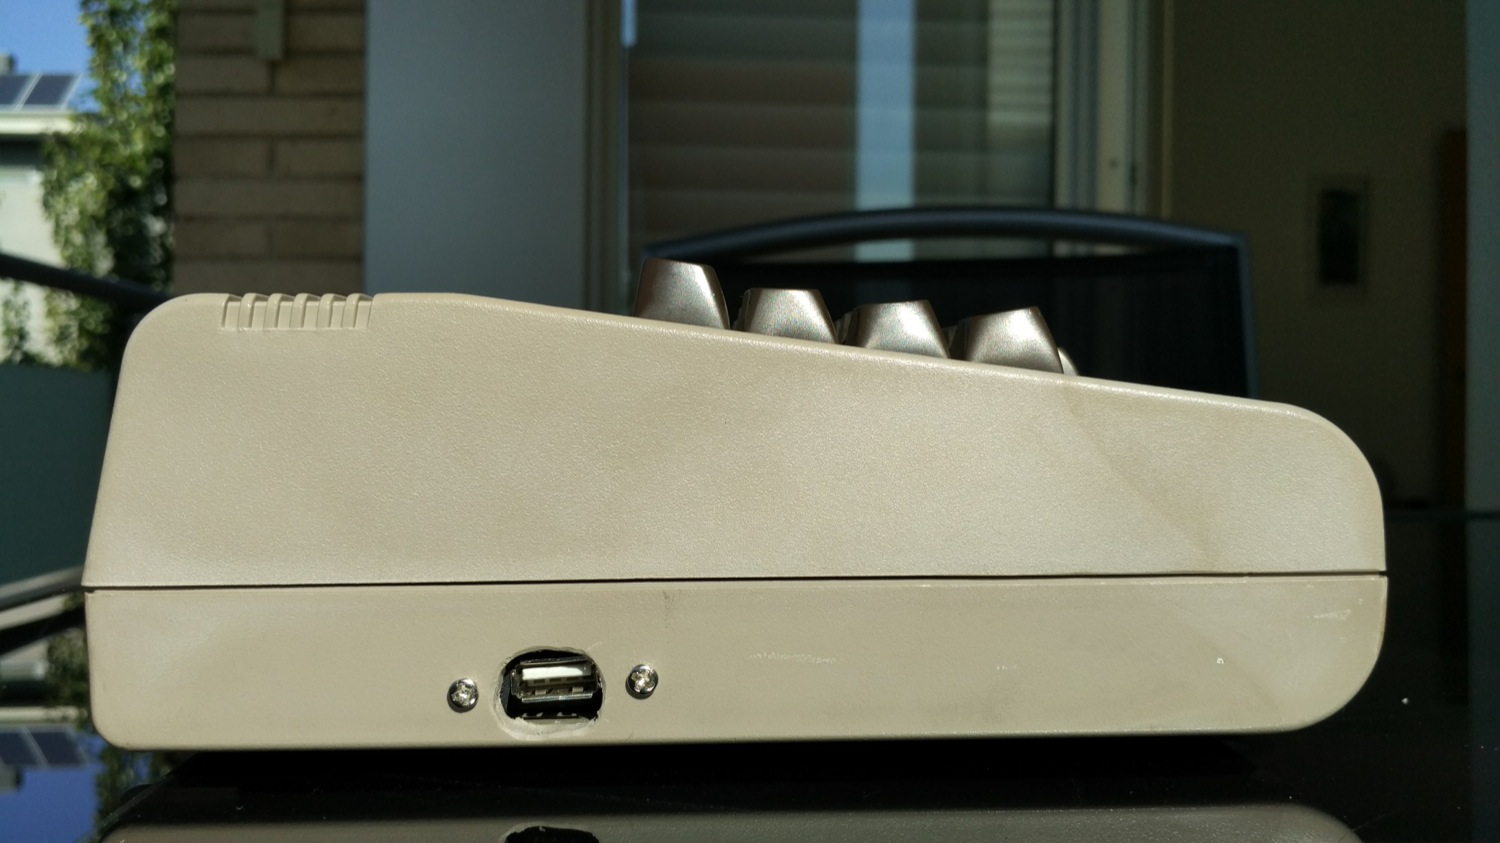
I decided to place the following connectors:
- Left side: One USB connector
- Right side: Keyrah v2 connector (usb, 2 joysticks connectors), another USB connector
- Back side: 2 USB connectors, 1 LAN connector, 1 power USB connector, 1 HDMI connector, 1 audio-jack connector
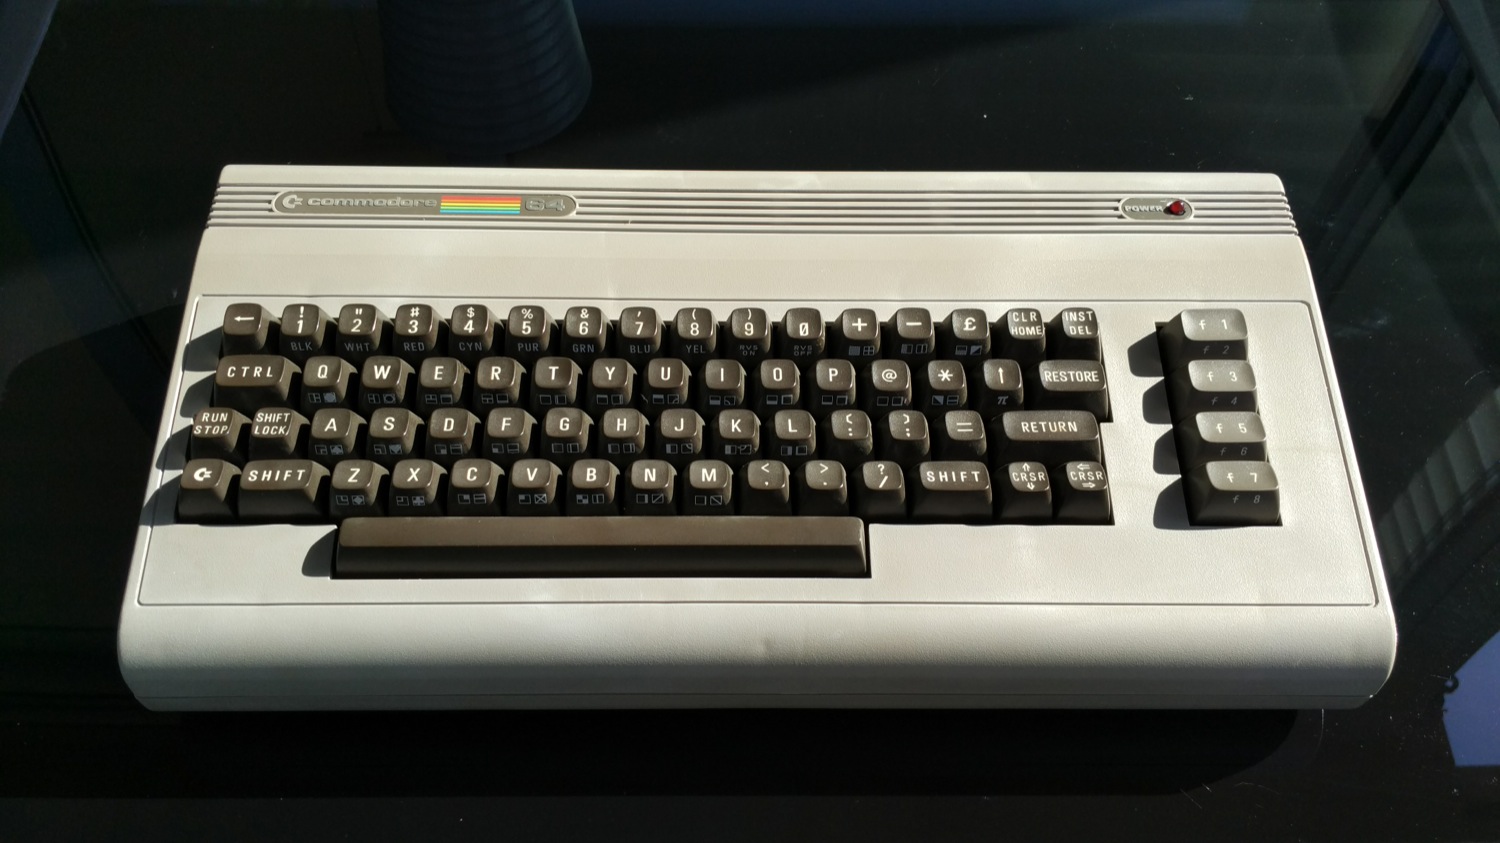


As a conclusion: It’s not perfect, I know, but it’s easy to do and it works! 🙂
There are many things to improve (for future versions), like:
- Make better holes… the Dremel works fine, but my pulse don’t! so I should think in a vetter way to make holes on the C64 case
- Think before starting making holes into the case… the back connectors could be better installed if I thought it twice 😛
- The audio jack connector… its not really needed, and it’s very difficult to find a mount wall. I recommend not to install any
- If you want to use a keyboard… better use another computer (like Amiga500/1200), which has more keys.